
If you buy an induction cooktop and you want to installation of an induction cooktop it in your kitchen that’s not difficult you can easily install and set up the induction cooktop easily but one more option is available hire an experienced person to do it.
Installation and set-up of the induction cooktop required some necessary tools and supplies like a plier, tape measure, marker or pencil, screwdriver, etc. Before starting your work first complete all your tools and read all instructions to avoid mistakes.
In This Story
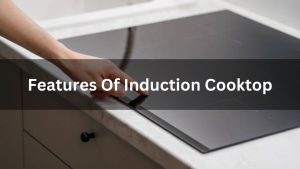
Can I Install My Induction Cooktop?
Yes, you can install it yourself if you are comfortable using tools like a screwdriver, pliers, and tester. However, the installation also requires basic electrical knowledge, such as correctly wiring the appliance. If you’re not confident or if your home’s wiring is outdated, it’s advisable to consult a professional electrician.
Pro Tip: Even if you’re handy, improper installation can void the warranty or cause long-term issues. An experienced installer ensures a safer, quicker setup.
Key Installation Requirements for Induction Cooktops
1. Electrical Requirements
- Dedicated Circuit: Induction cooktops need a 220-240V outlet with a dedicated circuit. Avoid sharing the circuit with other appliances.
- Amperage Rating: Check the cooktop’s manual for required amperage—typically between 30-50 amps.
- Upgraded Wiring: If your home’s wiring is old, it may not support the high power demands, requiring thicker wires and possibly a new circuit breaker.
2. Ventilation Requirements
Though induction cooktops don’t produce combustion gases, they still generate heat and steam. Maintain at least 5 inches of clearance between the cooktop and overhead cabinets for proper airflow. If installed above an oven or dishwasher, ensure enough ventilation to prevent overheating.
3. Countertop Material
Choose a heat-resistant surface like granite or quartz, as induction cooktops generate residual heat beneath the glass surface. Ensure the countertop can withstand high temperatures without cracking.
4. Installation Location
- Ensure the cooktop is positioned near electrical outlets to avoid long wiring runs.
- The countertop should be level to ensure the cooktop sits securely. Use a level tool to confirm this.
5. Professional Installation Recommendation
If wiring or structural changes are necessary, hiring a licensed electrician ensures safety and compliance with building codes. Additionally, a professional installer minimizes risks such as loose connections or improper ventilation.
Step-by-Step Guide to Installing an Induction Cooktop
Tools and Supplies Required
Tools:
- Wire stripper, screwdriver, pliers, level, adjustable wrench, drill, pencil/marker
Supplies:
- Circuit breaker, wire nuts, junction box, electrical tape, cleaning supplies
Optional for Gas Replacement:
- Pipe wrench, sealant, spray bottle, soap

Step 1: Disconnect All Power Sources
- Turn off the power using the circuit breaker to avoid electric shocks.
- Use a tester to confirm there is no current running through the wires.
- Tip: Take photos of the old wiring to reference when reconnecting the new appliance.
Step 2: Remove the Old Cooktop
- Unscrew any brackets and disconnect wires from the old unit.
- Carefully cut through sealants around the edges if it’s glued to the countertop.
- Get assistance when lifting the old cooktop—it can be heavy.

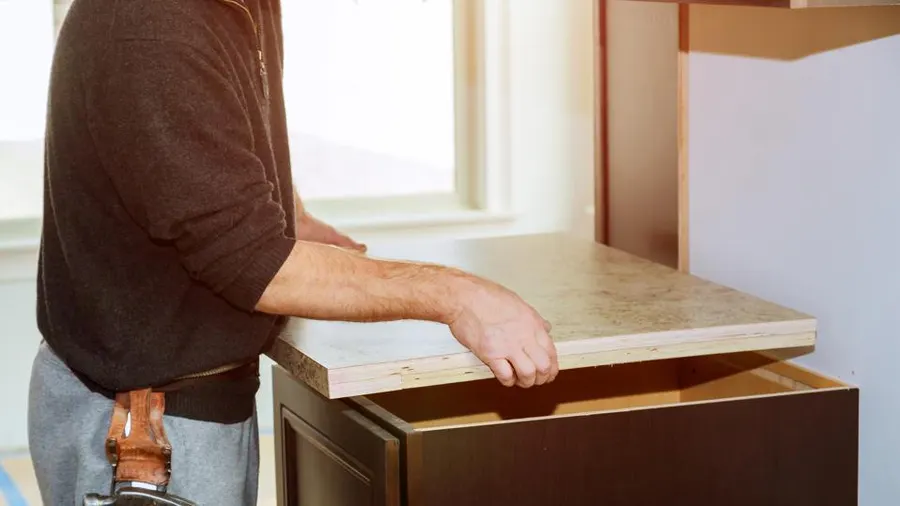
Step 3: Prepare the Countertop Space
- Measure the new cooktop dimensions and compare them to the existing cutout.
- Use a jigsaw to enlarge the cutout if needed. Smooth the edges for a snug fit.
- Clean the area thoroughly to ensure proper installation.
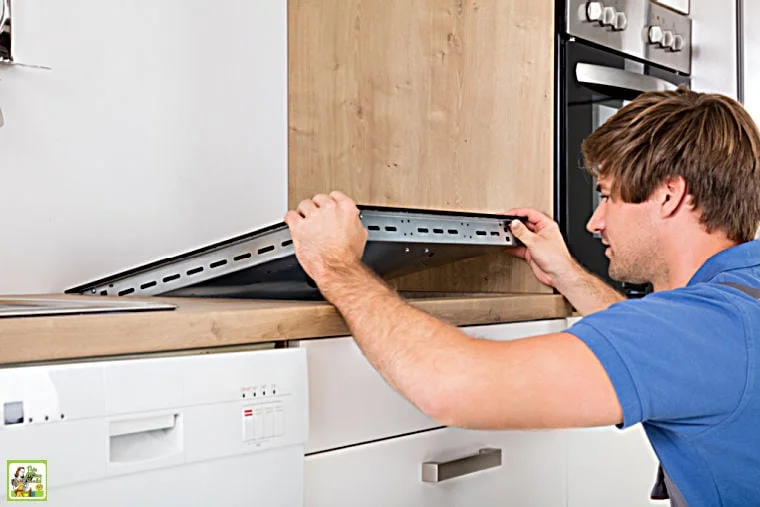
Step 4: Install Brackets and Clips
- Secure mounting brackets or clips under the countertop following the manufacturer’s instructions.
- Make sure the brackets are aligned properly to hold the cooktop in place.
Step 5: Place the Cooktop into the Countertop
- Carefully lower the new cooktop into the cutout. Ensure it sits evenly and aligns with the brackets.
- Check for gaps around the edges and adjust if necessary.
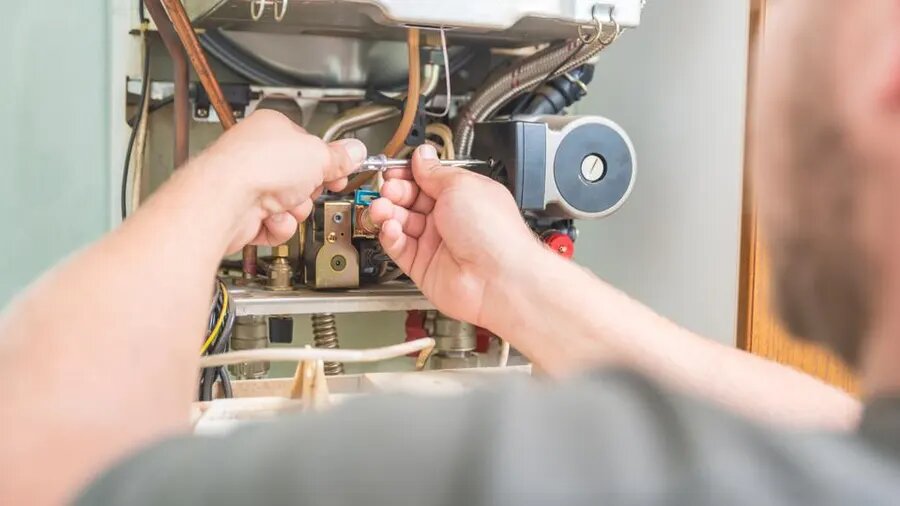
How to Connect the Wiring Safely
- Match Wires: Red and black are positive; white is neutral, and green is the ground wire.
- Secure Connections: Use wire nuts and electrical tape to join wires firmly.
- Check for Errors: Double-check connections against your photo from Step 1.
- Reconnect Power: Switch the circuit breaker back on to test the appliance.
Testing the Induction Cooktop After Installation
- Visual Inspection: Ensure the cooktop is seated properly and has no visible defects.
- Turn on the Power: The display should light up without error codes.
- Test Each Burner: Place a compatible pan on each zone and check if it heats.
- Water Test: Boil a pot of water on each burner to confirm proper functioning.
- Monitor for Issues: If any zones don’t heat or display errors, contact a professional for troubleshooting.
Do I Need an Electrician for Installation?
If you’re building a new kitchen or upgrading to induction, professional help may be necessary. An electrician ensures:
- Proper wiring upgrades
- Compliance with safety codes
- Prevention of overloads or hazards
While DIY installation is possible, hiring a professional provides peace of mind and guarantees a smooth setup.
Conclusion
After buying an induction cooktop you want to install it so we will tell you about the installation of an induction cooktop. If you want to installation of an induction cooktop by yourself, it can be easy but I want your total mind on this article.
People have a question you need an electrician to install a cooktop the answer is if you have the basic knowledge of an electrician you don’t need that installing an induction cooktop is very easy.
Here are some steps to installation of an induction cooktop. The first step is to remove your old cooktop carefully, first turn off all the source fuel, turn off all the accessories, put off your cooktop, and then the step to install a new cooktop.
Open your new cooktop, put it into the countertop, tighten all the screws, connect the fuel resources, apply all the accessories, clean your new cooktop from debris, and turn on your cooktop and enjoy it.
FAQS
Can I install an induction cooktop myself, or should I hire a professional?
If you’re comfortable with basic electrical work and have the right tools, you can install it yourself. However, it’s always safest to hire a professional.
How much power does an induction cooktop need?
Most induction cooktops require a 220-240V circuit and between 30 to 50 amps, depending on the model.
Do induction cooktops need ventilation?
Induction cooktops produce less heat, so ventilation isn’t as crucial as with gas stoves, but proper kitchen airflow is still recommended.
What happens if I don’t have a dedicated circuit?
Using a shared circuit can lead to power overloads and frequent tripping of the breaker. It’s best to install a dedicated circuit for your cooktop.